How to Sanitize a Robot Vacuum After a Pet Accident: Clean, Disinfect & Remove Odors
Introduction
One of the most common challenges for pet owners is maintaining a clean robot vacuum after an unexpected accident. This guide will teach the reader how to thoroughly clean, disinfect, and neutralize odors, ensuring the device continues to perform at peak efficiency. The reader will learn why each step matters, which tools provide the best results, and how to prevent future issues. By following these instructions, one can extend the lifespan of the vacuum while preserving a healthy home environment.
What You’ll Need
- Soft microfiber cloths
- Gentle dish soap
- Isopropyl alcohol (70% or higher)
- White vinegar
- Enzyme‑based odor neutralizer
- Replacement brushes and filters (optional)
- Access to a well‑ventilated area for drying
For optimal results, consider the following Amazon products that serve as reliable tools for this process:
- Tikom L8000 Pro – a robot vacuum with powerful suction, mop capability, and low‑noise operation ($142.47, 4.6/5 rating).
- Qrevo S Accessories Kit – replacement brushes, mop pads, and HEPA filters for Roborock models ($26.99, 4.5/5 rating).
- Eufy RoboVac Parts Kit – side brushes, filters, and cleaning tools for Eufy devices ($19.96, 4.6/5 rating).
Step 1: Power Down and Detach the Unit
The first priority is to ensure safety by turning off the robot and removing it from its charging dock. Press the power button and wait for the indicator lights to extinguish. Then, gently lift the vacuum from the dock to avoid damaging the charging contacts. This step prevents electrical hazards and allows full access to the cleaning compartments.
If the model includes a detachable water tank, such as the Tikom L8000 Pro, remove it by pressing the release latch. The large 300 ml tank can hold enough solution for a thorough rinse without spilling.
Step 2: Remove Visible Debris and Waste
Open the dustbin and empty any collected material into a trash bag. The 450 ml bin of the Tikom L8000 Pro provides ample capacity, reducing the frequency of emptying during the cleaning process. Use a soft brush to dislodge hair or particles that cling to the bin walls.
Inspect the side brushes and main rollers for tangled fur. If the brushes are worn or heavily soiled, replace them with fresh components from the Qrevo S Accessories Kit. Its rubber main brushes capture up to 99 % of debris and are designed for easy snap‑in installation, eliminating the need for tools.
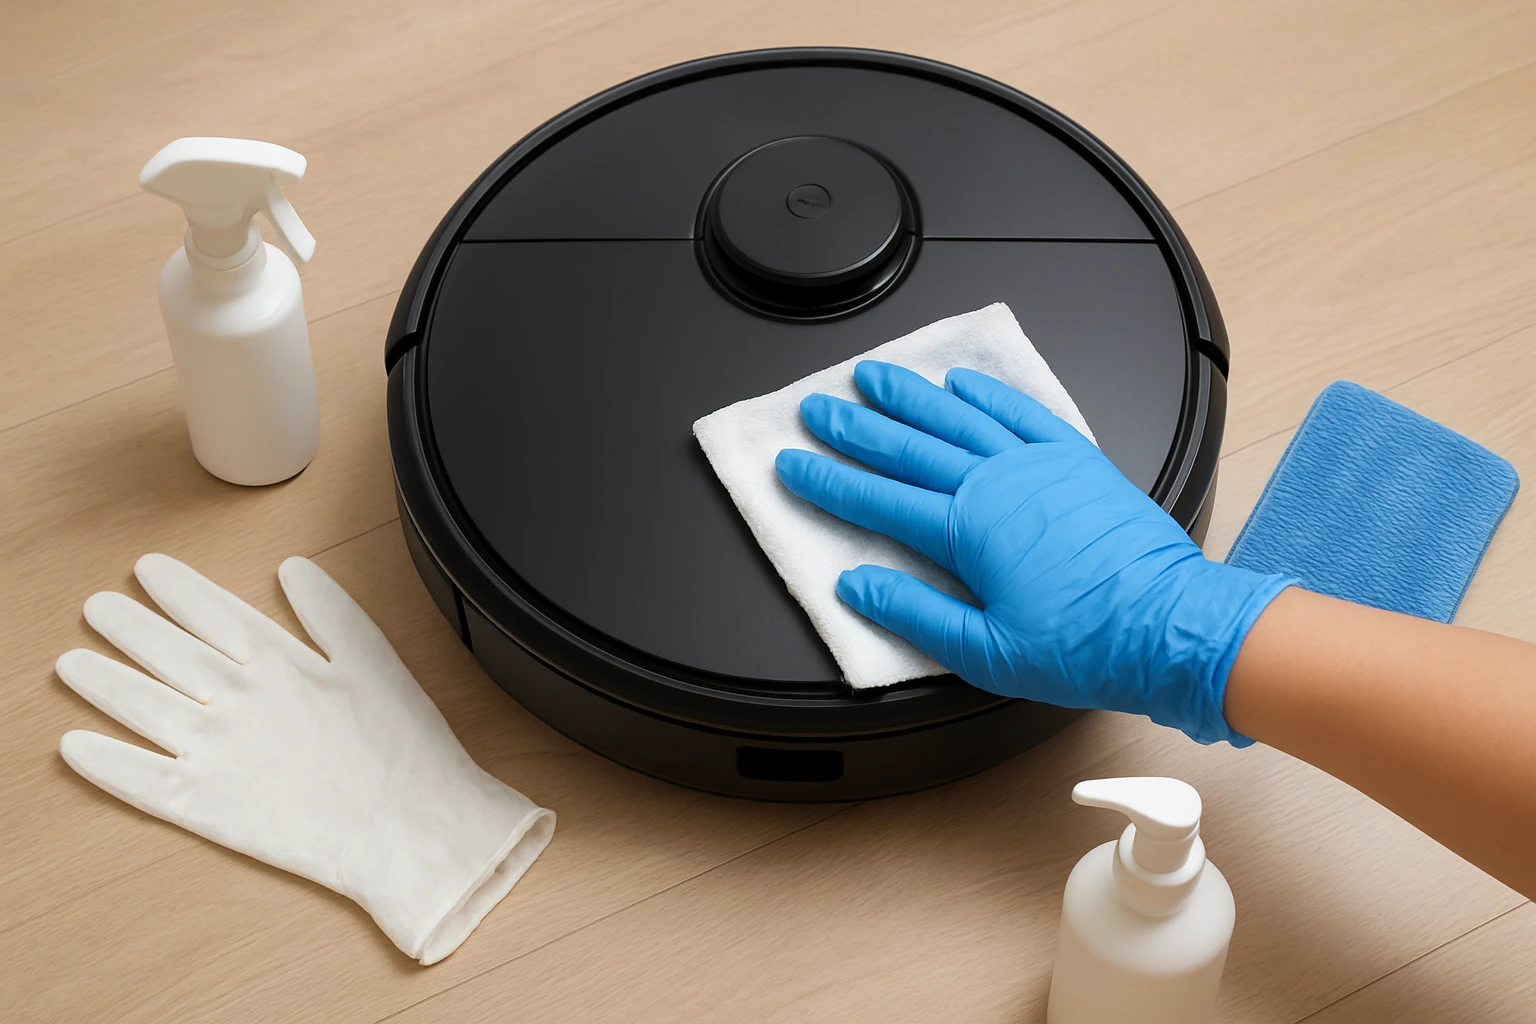
Step 3: Clean the Vacuum Body and Sensors
Wipe the exterior with a microfiber cloth dampened in a mixture of warm water and a few drops of gentle dish soap. Avoid excessive moisture near the LiDAR navigation sensors, as water can impair mapping accuracy. The Tikom L8000 Pro employs smart LiDAR navigation; keeping the sensor lens clear ensures precise room mapping.
For stubborn stains, apply a small amount of 70 % isopropyl alcohol to a cloth and gently rub the affected area. Alcohol evaporates quickly, reducing the risk of water damage while providing a disinfecting effect. Do not spray liquid directly onto the robot; always apply it to the cloth first.
Step 4: Disinfect the Water Tank and Mop System
Fill the water tank with a solution of one part white vinegar to three parts warm water. Vinegar is a natural disinfectant that neutralizes bacterial growth without leaving harmful residues. Run a short cleaning cycle in “Mop Only” mode so the solution circulates through the mop pads.
After the cycle, empty the tank and rinse it thoroughly with clean water. Dry the interior with a lint‑free cloth. If the mop pads are heavily soiled, replace them with fresh pads from the Qrevo S Accessories Kit. The kit includes four microfiber pads that are highly absorbent and easy to install.
Step 5: Deodorize and Dry All Components
Apply an enzyme‑based odor neutralizer to the dustbin, brush housing, and any areas that contacted the accident. Enzymes break down organic molecules, eliminating the source of the odor rather than merely masking it. Allow the neutralizer to sit for five minutes before wiping away excess liquid.
Place all removable components on a clean towel in a well‑ventilated area. Air‑dry for at least 30 minutes to ensure that no moisture remains, which could promote mold growth. The low‑noise operation of the Tikom L8000 Pro (down to 45 dB) makes it suitable for overnight drying in a quiet household.
Step 6: Reassemble, Test, and Schedule Maintenance
Reinstall the water tank, dustbin, and brushes, ensuring each part clicks securely into place. Power the robot back on and select a short cleaning run to verify that all systems function correctly. Observe the navigation map on the app; the Tikom L8000 Pro’s smart mapping will display any missed areas.
To maintain hygiene, schedule a deep‑cleaning routine every two weeks and replace brushes and filters according to manufacturer recommendations. The Eufy RoboVac Parts Kit provides side brushes and HEPA filters that can be swapped out without tools, keeping suction power consistent.
Tips & Pro Tips
- Use a dedicated cleaning cloth for the robot to avoid cross‑contamination with kitchen surfaces.
- When cleaning the LiDAR sensor, use a dry, lint‑free swab to prevent streaks that could affect mapping accuracy.
- Store spare mop pads in a sealed bag to maintain their absorbency between uses.
- Consider setting up virtual no‑go zones in the app to keep the robot away from areas prone to accidents.
- For persistent odors, repeat the enzyme neutralizer step after the first drying cycle.
Troubleshooting
| Problem | Possible Cause | Solution |
|---|---|---|
| Robot stops mid‑clean | Battery low after cleaning a wet surface | Ensure the water tank is securely sealed and allow the robot to fully charge before restarting. |
| Navigation errors | LiDAR lens dirty or obstructed | Clean the lens with a dry microfiber cloth; recalibrate the map in the app. |
| Weak suction | Clogged side brushes or dirty filter | Replace side brushes and HEPA filter using the Qrevo S Accessories Kit or Eufy RoboVac Parts Kit. |
Conclusion
Sanitizing a robot vacuum after a pet accident requires systematic removal of waste, thorough disinfection, and proper drying. By following the six steps outlined above, one can restore the device to a hygienic state, eliminate odors, and preserve performance. Regular maintenance and the strategic use of quality accessories, such as the Tikom L8000 Pro, Qrevo S Accessories Kit, and Eufy RoboVac Parts Kit, will further enhance reliability and extend the vacuum’s service life.
Products Mentioned in This Guide
Frequently Asked Questions
How often should I clean my robot vacuum after a pet accident?
Clean it immediately after the incident, then inspect and wipe down the unit weekly to prevent buildup.
What is the safest way to disinfect the vacuum's brush roll?
Remove the brush, soak it in warm water with gentle dish soap, then wipe with a 70% isopropyl alcohol solution and let it air‑dry.
Can I use regular household cleaners like bleach on my robot vacuum?
No; bleach can damage plastic components—stick to mild soap, vinegar, or alcohol-based cleaners.
How do enzyme‑based odor neutralizers work to remove pet smells?
They break down organic molecules causing odor, turning them into harmless substances that the vacuum can no longer detect.
What preventive steps can I take to avoid future pet accidents affecting the vacuum?
Keep the vacuum out of high‑traffic pet zones, use virtual barriers, and regularly empty the dustbin to reduce attraction.